I promised to show you how to prepare a book for altering.

In the previous posting we talked about how to choose a book. Once you have inspected the book, know that the binding is a good one and the pages are in good condition to work on, the next step is to determine whether the fly leaf and end paper are in good shape. If not, you may want to add a new one. I'll get to that later. But on the chance that you will want to do that, don't do anything to that part of the book yet. The next step is to start removing pages to make room for the artwork that will be put in the book.
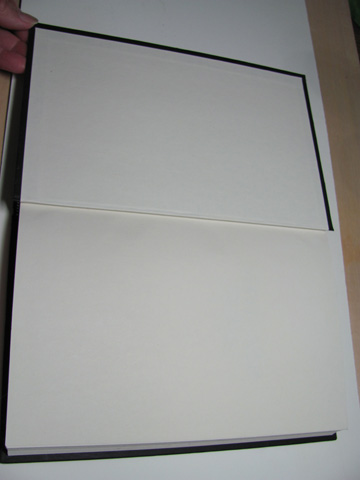
The flyleaf and end paper are in good condition here and there is no sign of tearing or stress in the fold
<----End paper
<----Fold
<---Flyleaf
This book is ready to prep. Consider skipping the first few pages before you start removing pages. This will give you options for a sign in page if you are going to enter the book in a round robin swap or for the pages to introduce your theme.
There are several good methods for removing pages from the book. The best and most common are:
- Tear against a ruler
- Free-hand tear
- Cut away
 It is probably not a good idea to tear out all the way to the stitching due to the risk of damaging the thread, especially if the book is an old one or a cheaper new binding. In this picture you can see that the ruler is held against the center, near the seam. This keeps the tear from going all the way to the stitching.
This also ensures a relatively straight tear and allows you to 'grade' or 'shade' the tears so they are not all exactly the same distance from the binding.
 Some artists prefer to cut the pages because it gives them greater control.
To do this, insert a thin cutting mat under the page to be removed. Lay a ruler on the page so that the left edge is where you want to cut. Use a good sharp craft knife to cut the pages. I suggest that you take the time to do one at a time.
 An easy way to remove pages is free-hand tearing. Use the thumb or a finger from the other hand to guide the tear so it doesn't get into the binding seam.Always tear slowly so that you can stop if you are getting too close to the center of the book.
*Note: if you are going to be folding pages to the center, the part of the page that is left after tearing or cutting will allow you to glue or tape to that piece. This is helpful if you are making a pocket with the folded page.

I like to save the pages I tear out. This gives me the chance to use the book pages for collage or to cut out words/phrases for another page. You can also save illustrations or photos to use later.
 This is how your book will look when some of the pages are removed. If you will be the only one working in it, you can remove pages as you go. If it will be entered in a round robin in which other artists will be working in it, you will probably want to remove pages through the entire book. Some of your participants may not know that they need to make room for their wonderful creations. Do it for them to save yourself (and them) some sad surprises.
Some guidelines for you when working in other artists' books:
- If pages have not been removed by the book owner, you should remove sufficient pages to make room for your work. If what you are doing is 5 or 6 pages thick, then remove that many plus one, from the area where you are working.
- Remember, even a coat of paint adds thickness to a page. If you are using only ink that is not an issue, but paint definitely IS.
- Do not start your work on the back of someone else's work. That also creates problems with thickness and you run the risk of accidentally getting paint or other media on the previous pages. It can also cause problems with the page that has already been completed.
- Use wax paper or freezer paper behind the pages where you are working. That way any excess paint or gesso or medium will be on the wax paper not the previous artist's work.